
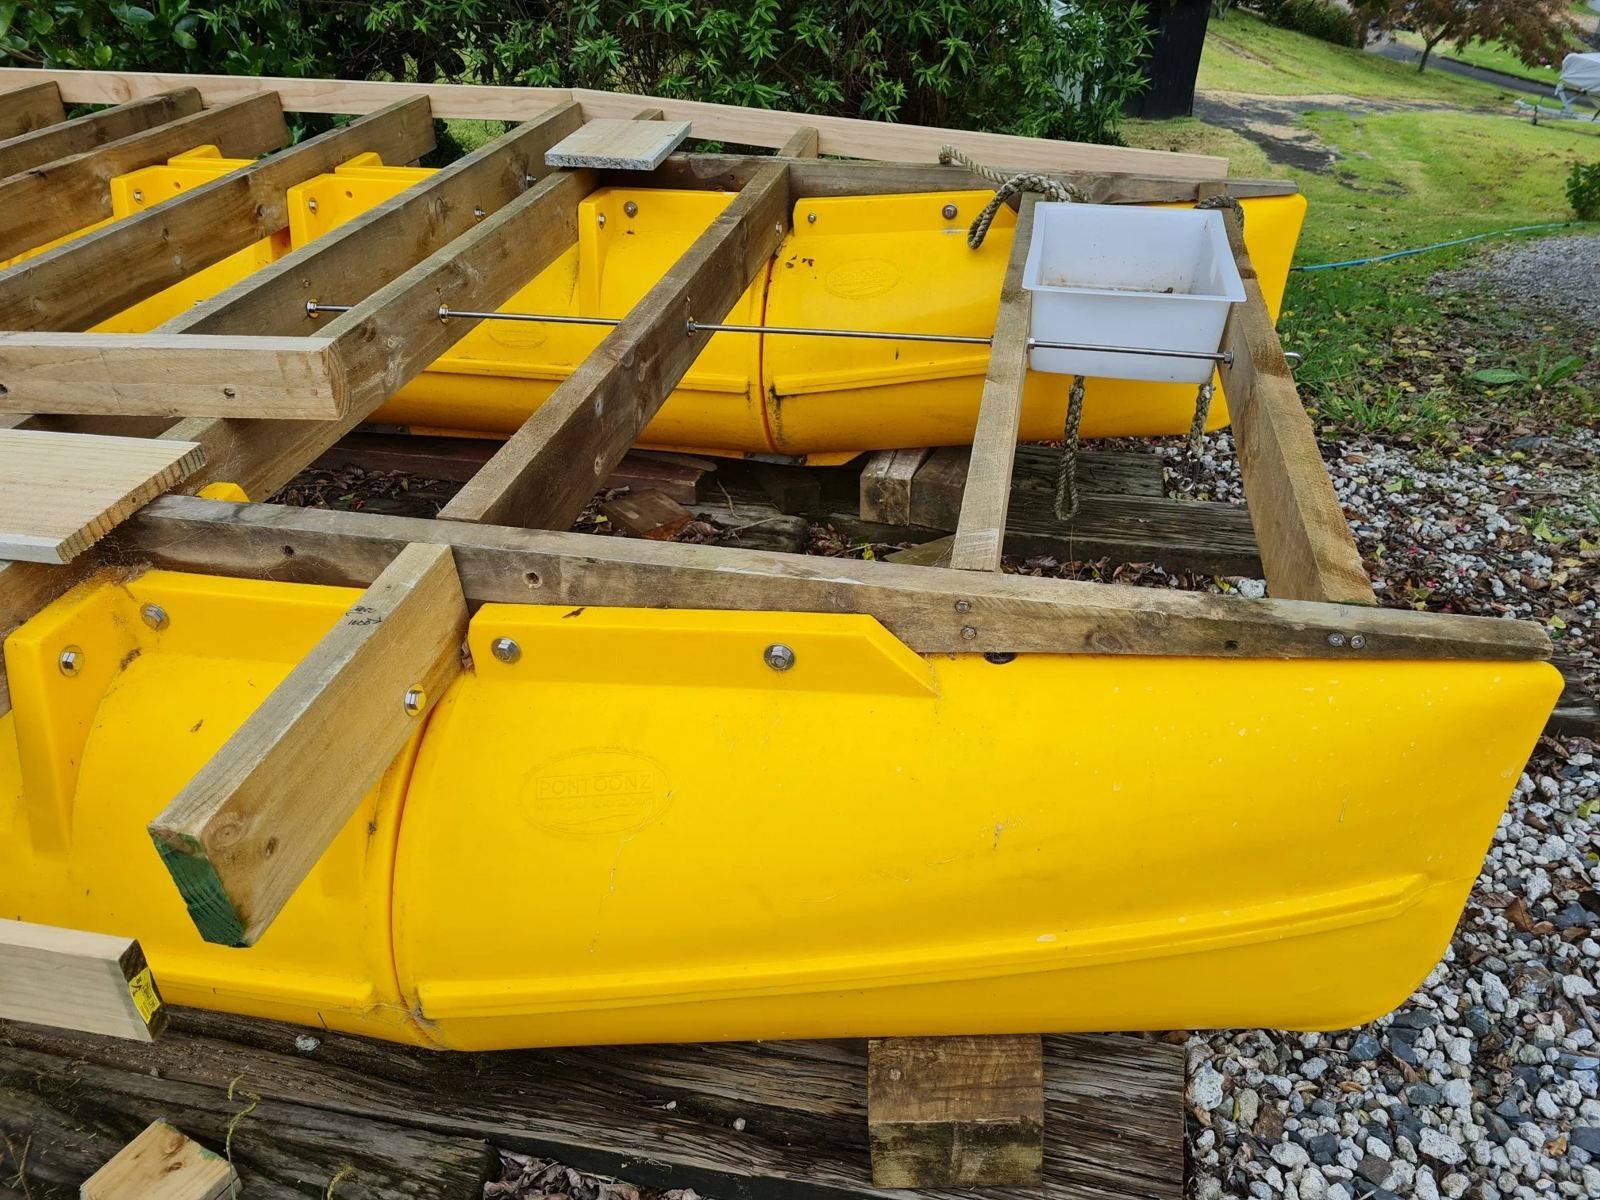
How to build a pontoon with Pontoonz pods
Pods in, hull done. The rest is up to you. Here's the whole process, from your first enquiry to bolting on the deck.
- SailGP Marker Boats Since 2018
- America's Cup 2017 & 2024
- Designed & Made in New Zealand
- Marine-Grade UV-Stabilised Polyethylene
- 5,000+ Pods Sold
- Supplied to Antarctica
- NZ Navy Target Platform
From idea to on the water
Tell us what you need to float. We'll tell you what to order.
Tell us your project
Use the form or the pod calculator. Size, load, water type and what you're building is enough to start. A sketch or photo helps.
We recommend the configuration
Pontoonz checks your pod type, count, bow pods and fixings, and quotes with volume pricing and freight to your address.
Pods made and shipped
Rotomoulded pods are made to order in Auckland. Float Pods ship from stock. Delivered anywhere in New Zealand, Australia and the Pacific.
You build, we back you up
Bolt the pods, build the deck, add the top. This guide and Pontoonz are a phone call away.
Building a hull, step by step
Cut, drill and bolt. No fibreglass, no welding, no marine trade required.
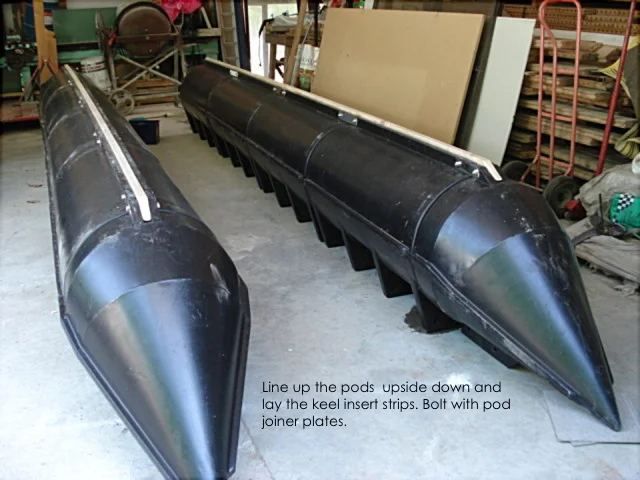
Hull layout and pod count
Decide the length and width of the deck, then the number of hulls: two for decks up to about 3.5m wide, three for wider or heavier builds. Each Main Boat Pod is 1.2m long and carries 150kg at half immersion. Use the calculator to get the count, and we'll check it before quoting.
Line up the pods upside down and lay the keel insert strips (PE or wood). Bolt the pods together with the 316 stainless steel keel joiner plates.
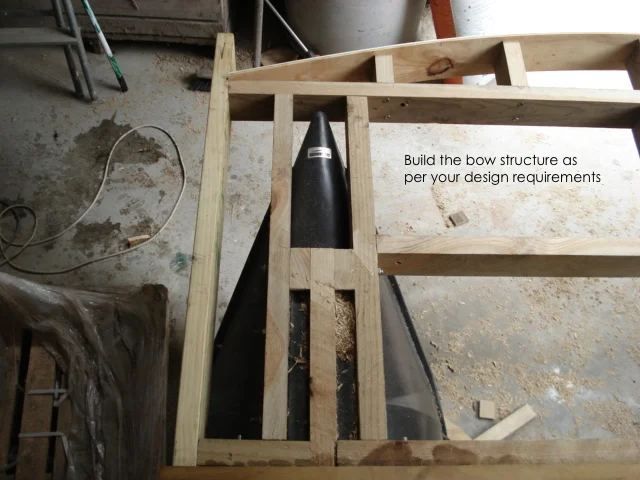
Bow pod placement
Fit a Bow Pod, or a Speed Bow Pod for faster hulls, to the front of each hull: two on a twin hull, three on a tri hull. Build the bow structure to suit your design.
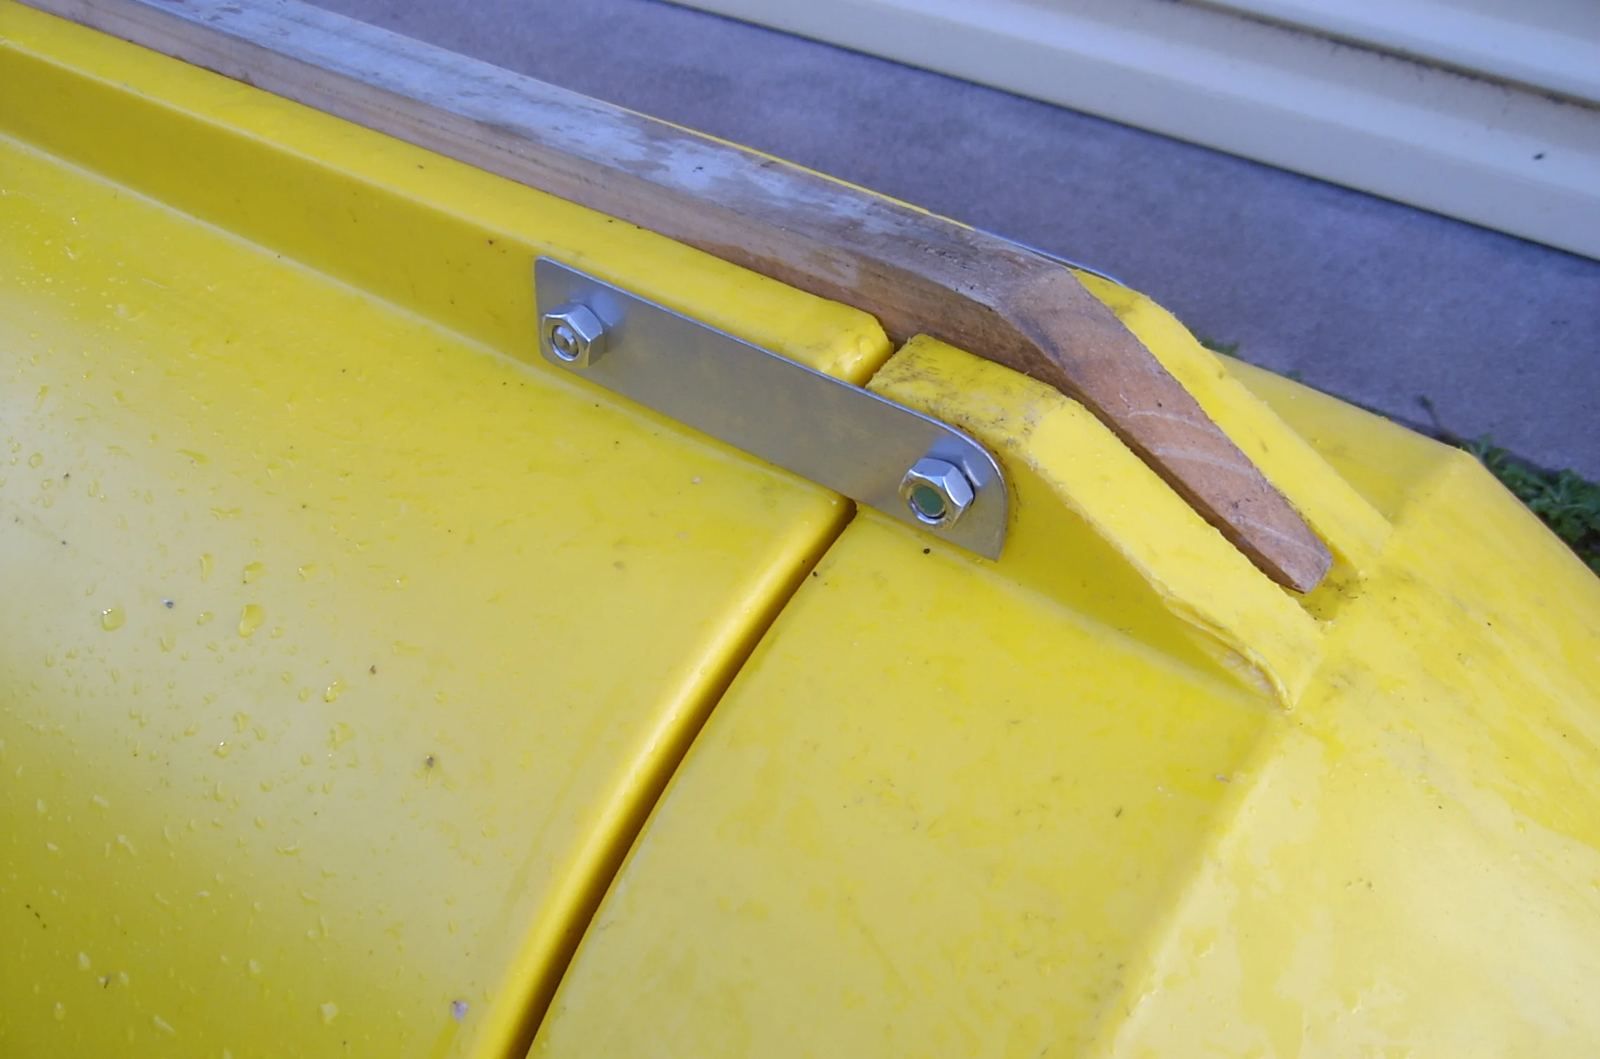
Tie-off points and bolting
Every pod has tie-off points moulded in. Bolt through them with 110mm or 150mm hex bolts, nuts and washers, with bolt protector inserts to spread the load. All fixings are available from Pontoonz.
Timber runners and joists
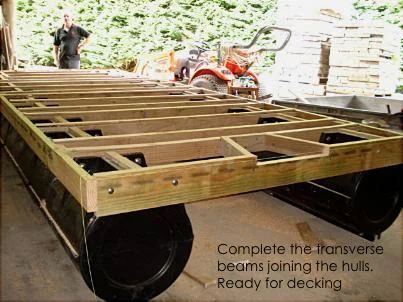
Run timber bearers along each hull, then complete the transverse beams joining the hulls. Drill and bolt everything straight onto the pods. The platform is now ready for decking.
Decking, storage and the outboard
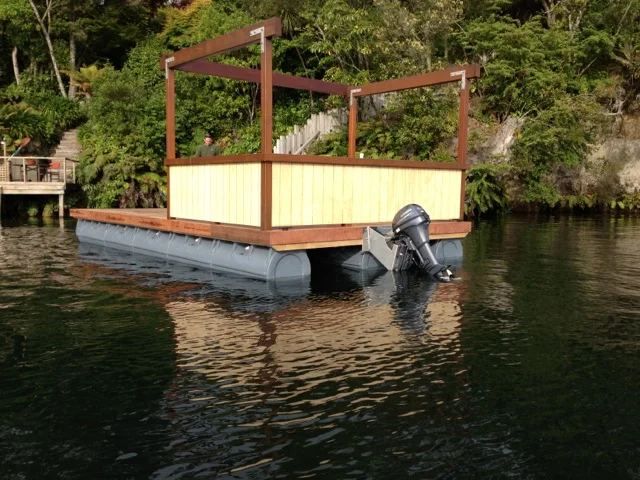
Decking: lay timber or composite decking across the joists. Use non-slip decking on swim rafts and public platforms.
Water and waste: on a tri hull, the middle hull doubles as fresh, grey and black water storage at 350 litres per pod.
Outboard: mount a transom or bracket between the hulls at the stern. The original 8.1m houseboat runs a 9.9hp four-stroke high-thrust outboard.
Anchoring, mooring and adding pods later
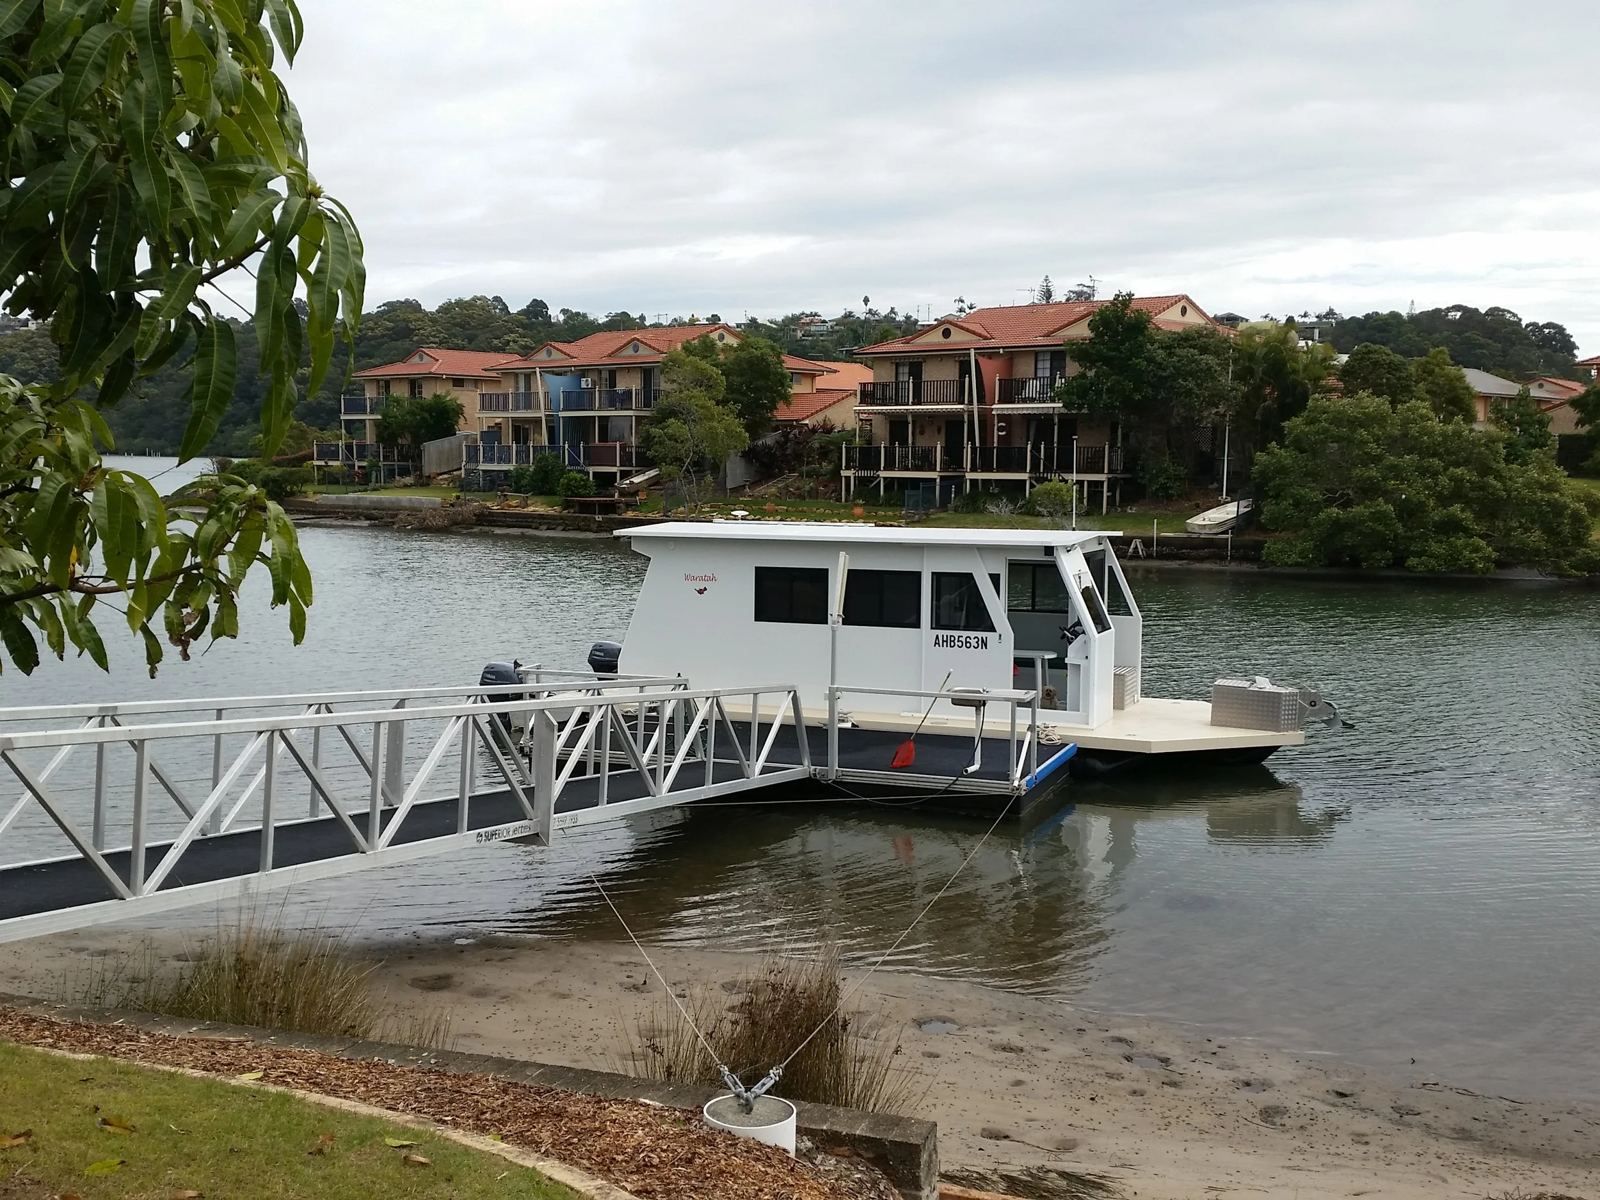
Anchoring and mooring: moor to a mooring block, anchor or pile using the moulded tie-off points. The right setup depends on depth, tide and exposure.
Adding pods later: lengthen a hull or add a third hull when the project grows. The same tie-off points take the new pods.
[Remaining text and diagrams from the current construction quick guide carry over here]
Get the construction guide as a PDF
Every step, diagram and fixing list in one printable guide. Enter your email and we'll send it straight over.
How many pods do I need?
Estimates assume half immersion and an even load. Every configuration is checked by Pontoonz before a quote is sent.
Tell us what you need to float
Every quote comes with a recommended configuration, volume pricing and freight to your address or nearest port.
- Configuration recommended with every quote
- Volume pricing and freight to your address
- Trading since 2003